Daniel’s Quick Start Guide to Selling Your Art Online
Introduction
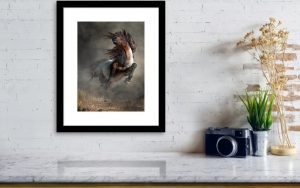 Welcome to my quick start guide to selling art online. This is a high level overview of the principle method I use to sell art.
If you are looking for something that is more detailed, I have an e-book on the subject which includes tips on creating digital art, walk-throughs on getting your art up for sale online, the keys to making your art search engine friendly, how to start an artist website, how to maintain a fanbase, and how to represent yourself on Facebook and how to advertise on the cheap using Facebook.
Otherwise, let’s get started…
Before getting into things though, I want to be clear on what you’ll be selling. You will be selling prints of your art, not the original pieces (actually you might be able to sell some originals, too, more on that later though). The way this works is through what is known as the Print On Demand industry or POD.
Step 1: Make Art
Step 2: Digitize Your Art
Step 3: FineArtAmerica.com
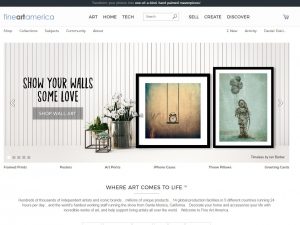
There are lots of print on demand sites out there, but the one I have the most experience with it FineArtAmerica.com (also known as Pixels.com). Go to this site and create an account. It’s free for the first twenty images and I suggest you just stick with this for the time being. While there are some nice benefits to a paid account, you can wait till you start making sales.
Once you’ve established an account, it’s time to start uploading your art. Each work will require name, description and keywords. These are important, particularly the title. Try and pick a title that matches what someone would type into Google to find an image like yours.
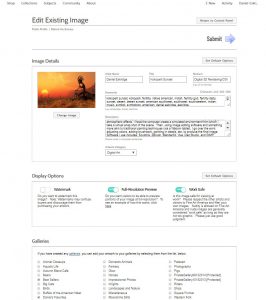
Be verbose in your description. Describe your art as if you were telling a potential buyer about it over the phone. Also, mention things like how you made it and what inspired it.
Come up with as many keywords as you can, but keep them relevant. Also include you name in the keywords.
Next, you’ll get to specify your markup on the various print sizes. Be realistic, but don’t be cheap. In my experience, slightly higher priced prints tend to sell better than cheap ones. Don’t give prospective buyers the idea that your art is cheap junk. At this point, it might be beneficial to do some research into what other artists who have work similar to yours charge.
You’ll also have the option of selling items such as phone cases and mugs featuring your art. It’s up to you if you want to do this. I do, but some artists think this cheapens the user experience.
Once you finalize your submission, your art is up and for sale!
Step 4: Create a Mailing List
The most important step in being successful at selling anything online is to build an audience. This is a dedicated group of followers that loves your art. The way you organize and keep and audience is through a mailing list.
There are several websites that help you build and send emails to a list of subscribers. I’ve use MailChimp.com as they are free for the first 2000 subscribers for up to 12,000 emails per month. Another, such provider is AWeber, which a lot of Pro Internet Marketer recommend, but which is not free. Currently, I’m using ConvertKit which is one of the newer email services.
Once you’ve created an account on one of these sites, you need to create what is called an autoresponder series (each site will have instructions on how to do this). An autoresponder series is a set of automated emails that go out to your new subscribers based on a delivery schedule that you define. Your series should feature your art and have links back to your FineArtAmerica profile where prints can be purchased or to your website.
Step 5: Your Website
You don’t necessarily need to have your own website. You can always send prospective buyers directly to your profile on FineArtAmerica or to a subscription form for your mailing list. For years, that’s exactly what I did. It worked okay. I made sales, but eventually, I wanted a bit more control over my representation online. So I put up my own site. I’ve noticed an uptick in sales since then. Though I’m not sure that can be attributed to my site or just luck, I still really like how much more control I have with it, particularly when it comes to posting links on social media sites.
Get a name
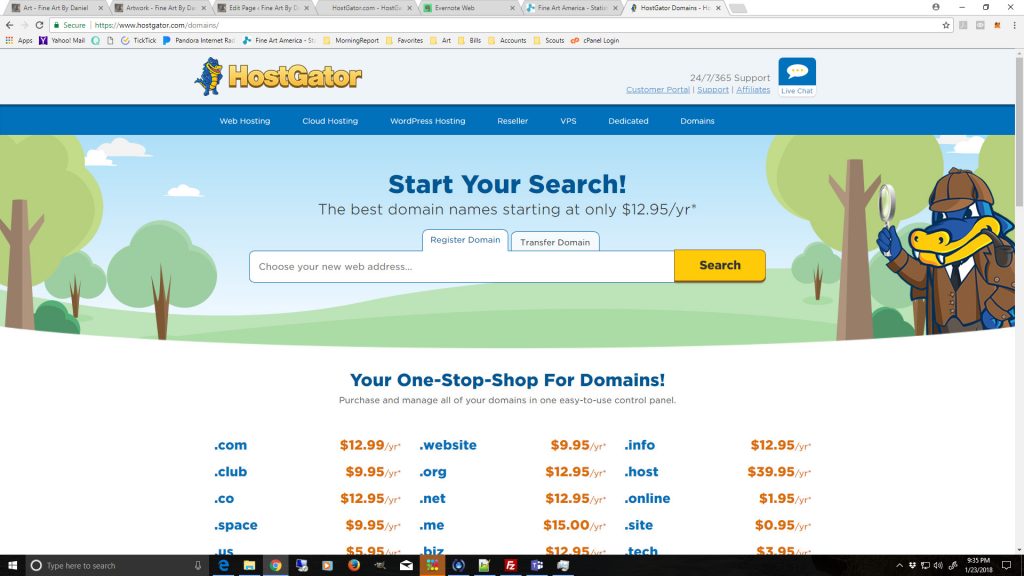
The first thing you need to create your site is a name for it on the web. This is known as a domain name. For instance, this site’s domain name is FineArtByDaniel.com. To get such a name you need to go to a registrar and buy one.
A quick note before we continue: the following contains links to HostGator. These are affiliate links. If you click on them and order services from HostGator, I get a small commission — at no additional cost to you. So if you do…THANKS!
For domain names, I use HostGator where a domain name generally costs around $15 (US) a year.
Get a host
A host is a service that’s will house your website and keep it running on the web. At the time of this writing, HostGator also offers hosting for as low as $2.75 per month. There are hundreds of hosting services out there. Just don’t go with a free one as they will likely dirty your site with ads or provide substandard service.
Use a Content Management System
A content management system (CMS) is interactive tool for building websites. In the past, you had to know how to write html code to build a site, but a CMS makes it way easier. By far, the most popular CMS is WordPress, which started as a blog maker but now let’s you more general sites. HostGator will actually setup a WordPress site for you if you don’t want to install it yourself (they charge a bit more per month for this).
WordPress allows you to install plugins to enhance your site. As an artist, you might try looking around for plug-ins specifically for artists such as plugins for better displaying images, organizing galleries, etc. One essential plugin is the SEO plugin by Yoast. More on that in a bit.
Using a CMS, create blog posts or web pages featuring your art. Don’t forget to include links that take buyers back to your art on FineArtAmerica.
Also, at the end of every post, suggest that people subscribe to your mailing list and provide a link that takes them to a subscription form.
Step 6: Facebook
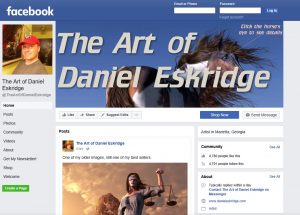
Now that your art is up and ready for sale, you need to bring the buyers in. There are several huge social media sites, but I find that Facebook is the best for marketing art.
However, it’s generally frowned upon to use your personal profile to do business. What you need to do is create a fan page for you as an artist. This is where you will post links to you art on your website.
The reason you link directly to your site is that Facebook does not allow you to specify the title and description on a link post, but if you installed the Yoast SEO plugin in the last step, you can specify it there. If you link straight to your art on FineArtAmerica, your link post my have undesirable titles and descriptions.
Finally, you are going to boost your posts. Boosting is a form of paid advertisement on Facebook. It will cost you money, but, unlike most forms of advertising, it’s quite reasonably priced — as little as a dollar a day.
Wrapping Up
This guide does not guarantee you riches. In fact, you can see exactly how well I do. I don’t mind sharing. Selling art is hard. However, this is a quick, low risk way to get up and going selling your art. Why not give it a shot?
Need to know more…
Also, a quick word from our sponsor. Though mostly I make digital art, I still enjoy making traditional art from time to time. To that end, I get my supllies from …

